
Guestlist
Managing your guestlist has never been easier with RA’s guestlist management tool.
The guestlist tool can be used on both the RA website and in the RA ticket scanning app
You can use this tool to:
- Bulk import or manually enter individual guestlist before or during the event
- Send your guests Barcode Tickets for fast scan entry on the night
- Create guest profiles (VIP, concession, AAA)
- Search and check-in guests through our scanning app
- Get real-time stats on RSVP / guestlist / ticket buyer entry numbers
Using the guestlist tool on web
The guestlist management tool will only be available to you once you have submitted tickets
- Head to RA Pro
- Click on the event title you want to add a guestlist entry for
- Click on the Ticket scanner & guestlist tab
- Click “manage guestlist”

Adding individual guests:
- Add guest details - name, quantity and type are all required fields
- Add an email address if you want to email the guest their ticket
- Company and tags are optional fields
Adding tags:
Tags can be used to add additional entry information for a guest that entry staff can see e.g whether the guest needs drinks tokens or green room access. Tags are displayed next to a guest’s name on the guestlist.
Upload guests in bulk from a file:
To bulk upload a guestlist from a .csv file please use this template .
- Fill in the template
- Save it as a .csv
- Upload the file into the guestlist
Name, Quantity and Type are required fields + email if you wish to email tickets
If you are having issues uploading the file, please check these troubleshooting tips:
- Columns can be uploaded in any order but the titles must be as stated.
- Check for spacing before or after the words as any additional characters or spaces in the title field can cause upload issues (including capital letters and -s at the end of the titles)
- Accents or special characters in customer names can also cause files to not upload. If you are experiencing issues, try removing them.
- If there’s a separate column for first name and last name in the export spreadsheet, you’ll need to collate this into one column.
- Please check this guide for further info if you still need help
Sending guestlist tickets:
You can send tickets to individual guests or to your whole guestlist.
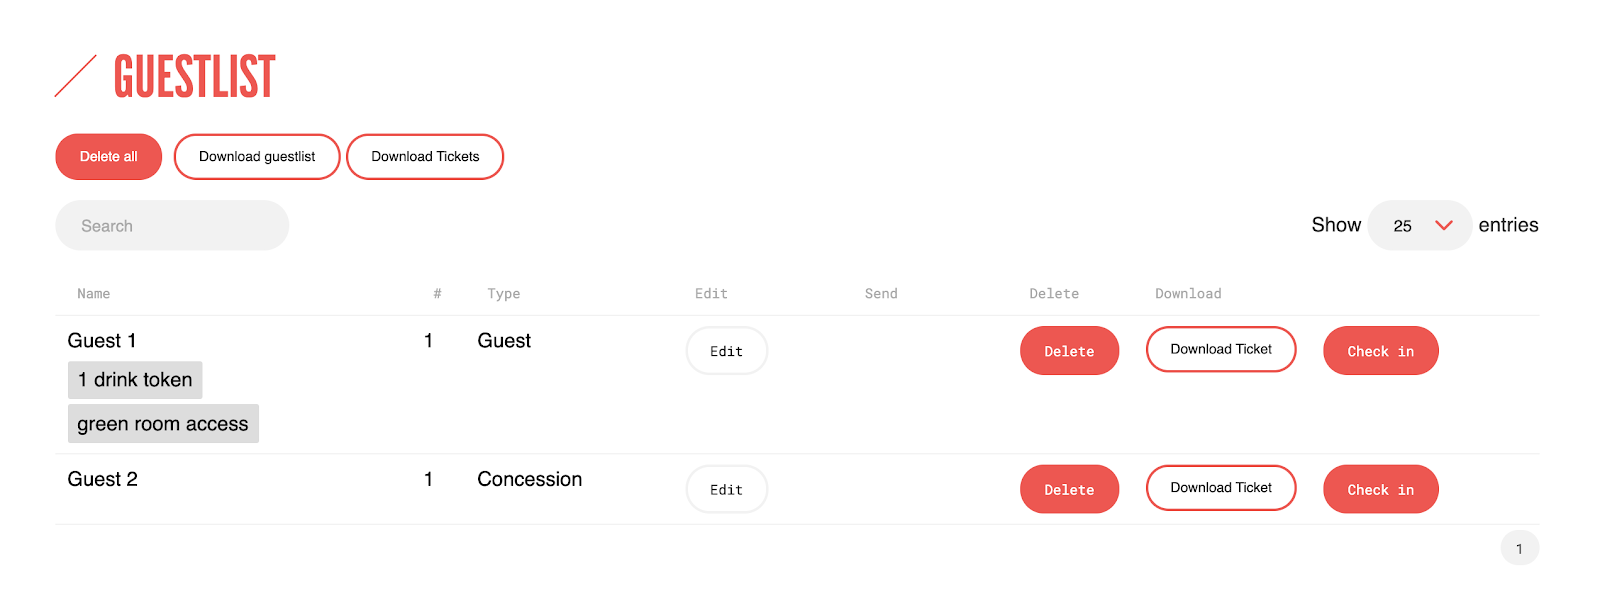
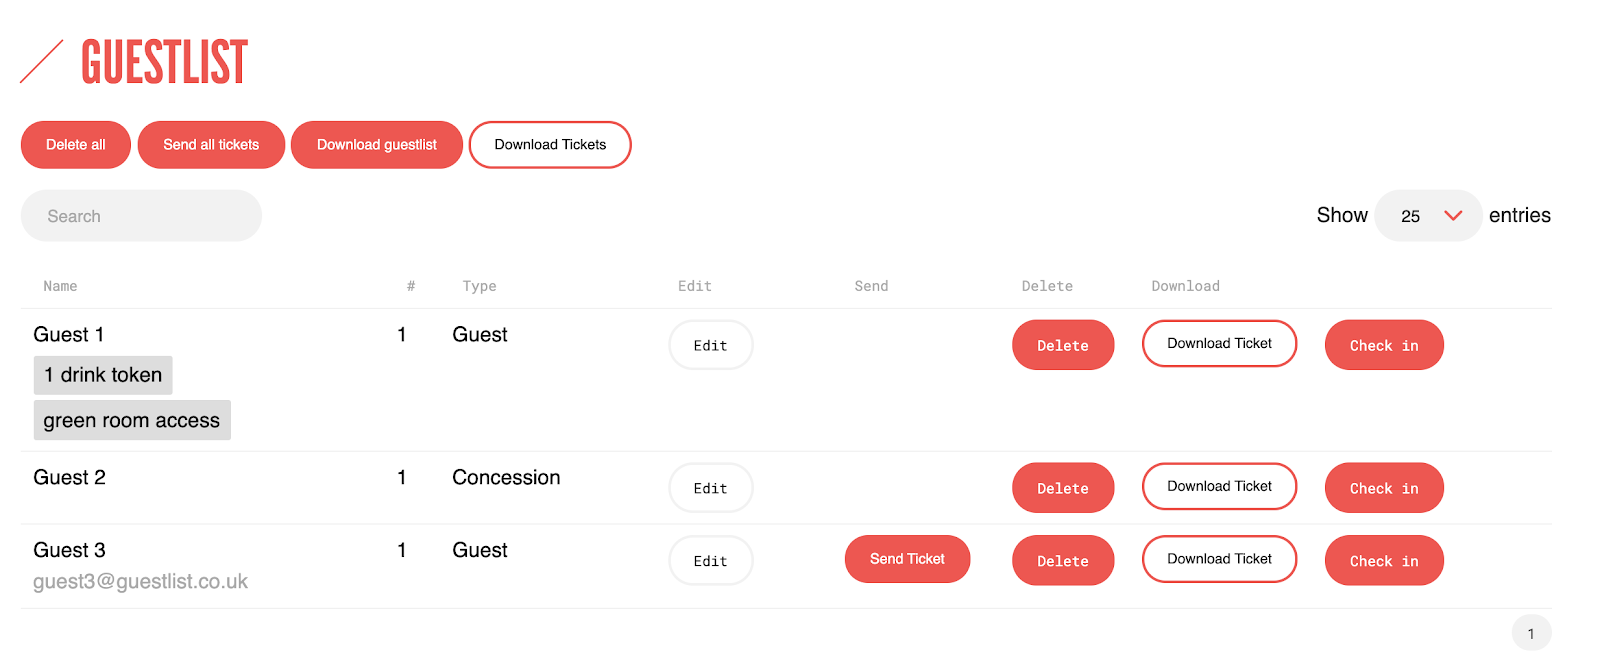
To send a ticket to an individual guest, click “send ticket” next to the relevant guest:
To send tickets to the whole guestlist, click “send all tickets”
If you have already sent all tickets to your guestlist and then add further guests to your list, you will then have the option to “send remaining tickets”. This will only send tickets to guests who have not yet been emailed their ticket:
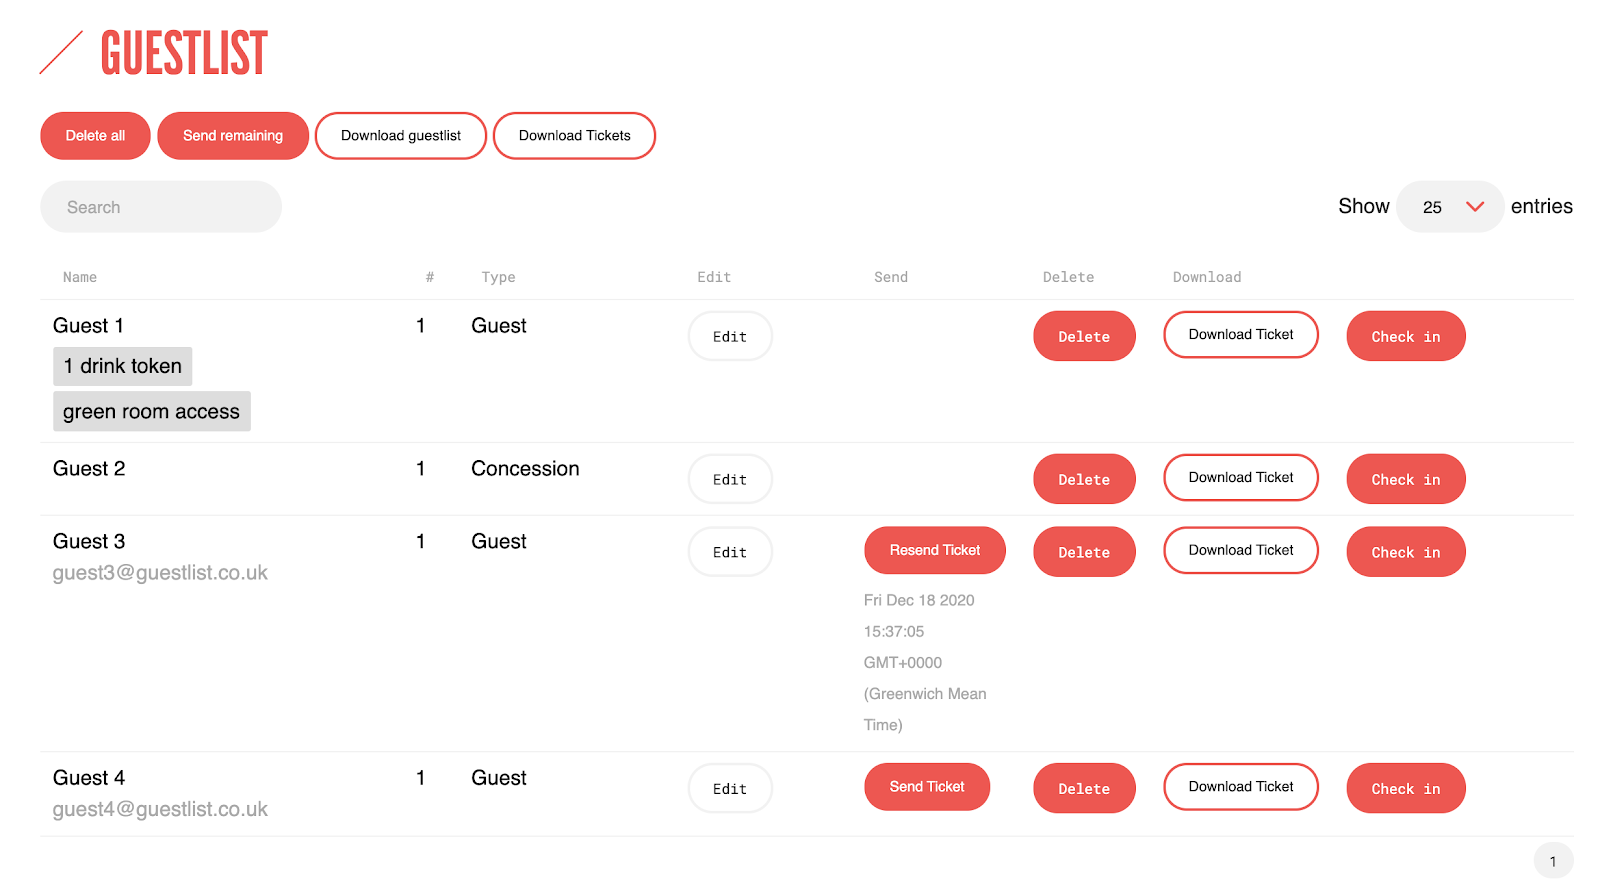
If a guest does not receive their ticket, you can click “resend ticket”.
Editing and deleting guestlist entries:
You can edit guestlist entries by clicking “edit” next to a guest’s name - and you can amend their email address, name and guest quantity - before resending their ticket.
You can also delete single entries by clicking “delete” next to the guests name, To delete the whole guestlist click “Delete all”. This action cannot be undone.

Downloading your guestlist & tickets
You can download individual guest tickets in order to forward them on to your guests.
You can also download all guest tickets in one go by clicking ‘Download guestlist’
Checking guests in:
To check a guest in, just click “check in” next to their name.
Once checked in, you will be able to see the date and time that the guest was checked in.
If a mistake is made you can undo the check-in by clicking “undo”.
Using the guestlist on the RA Ticket Scanner:
Add last minute guest additions to your list quickly from your device using the RA ticket scanner.
Adding to the guestlist from your phone:
To add a guestlist entry from the ticket scanner just click “Add” at the top right corner under the “Guest Management” screen. This will create a new tier.
The guest will be added to the “Guest Management” screen so they can be checked in.
Checking guests in:
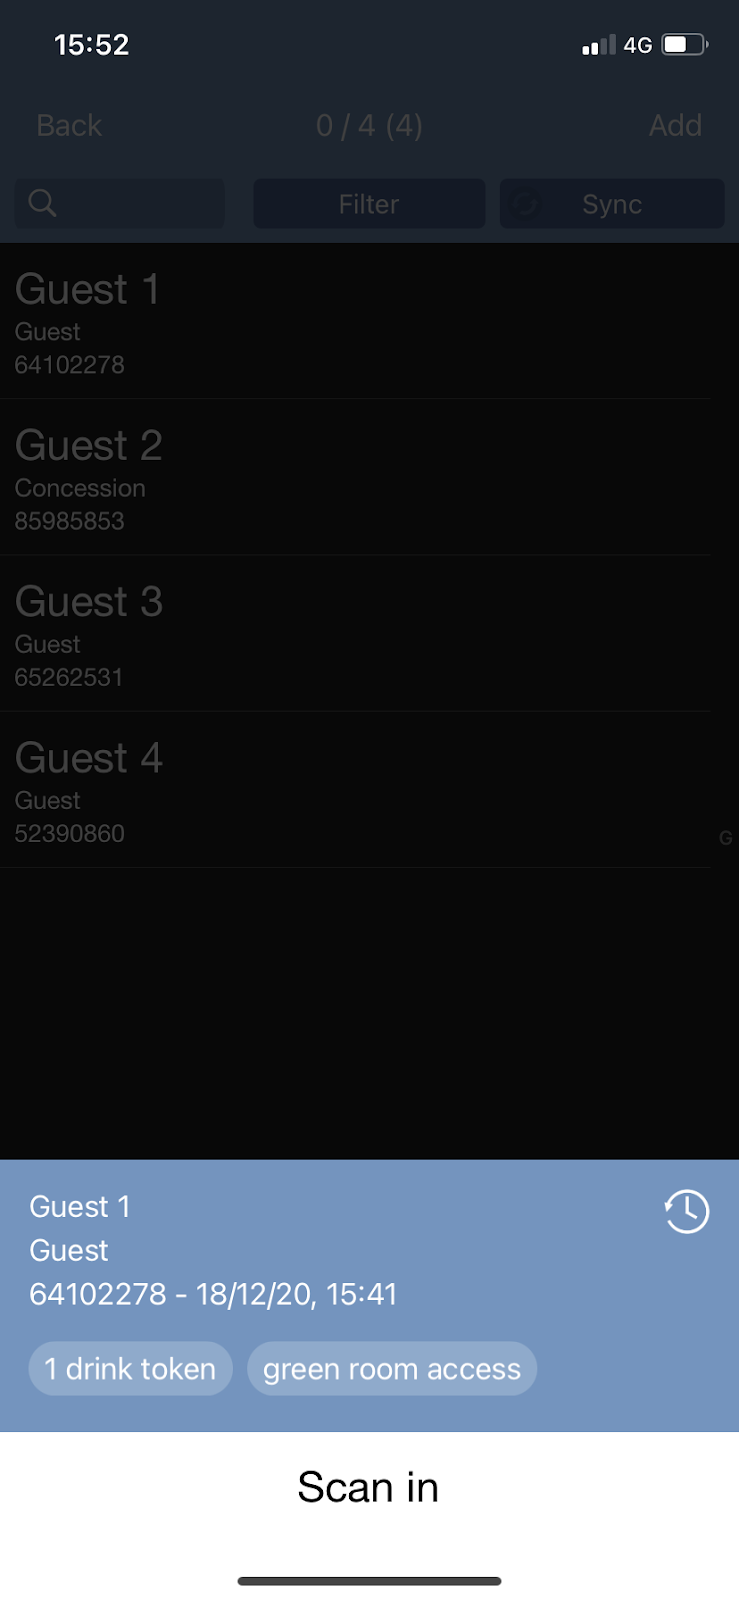
Guests that have been added to the desktop guestlist manager will show under the guest management list in the RA Ticket scanner:
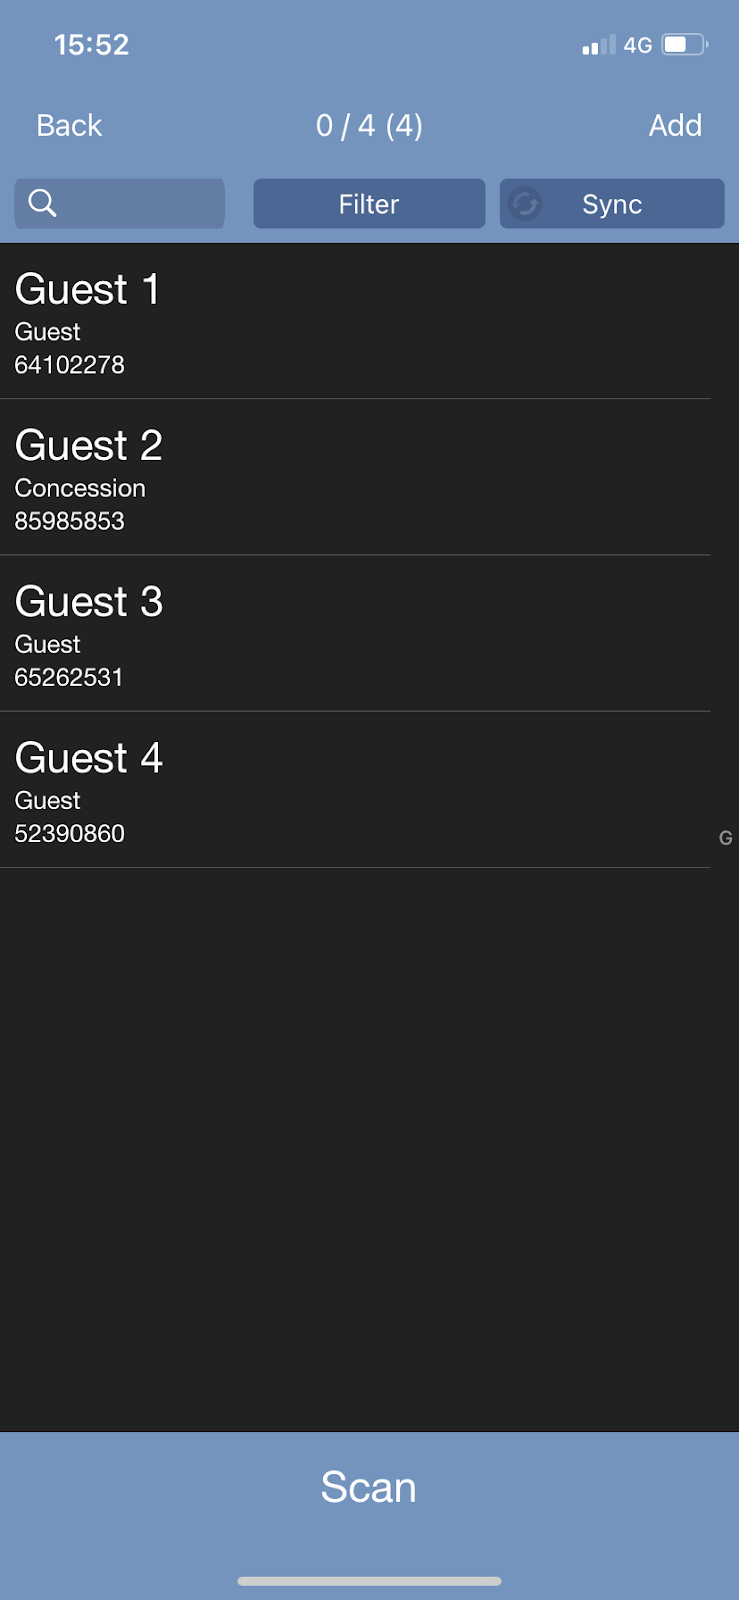
You can check them in by either scanning their ticket or clicking on their name and clicking ”scan in”.
At this point the guest tags will show up so you can see if there are any special requirements:
To undo the scan in you can click on the guests name again and click undo:

If you’re an event promoter or event organiser and you still need help, go to RA Pro and login. Then use the “Help” button in the corner to contact us.